World Class Textile Producer with Impeccable Quality
World Class Textile Producer with Impeccable Quality
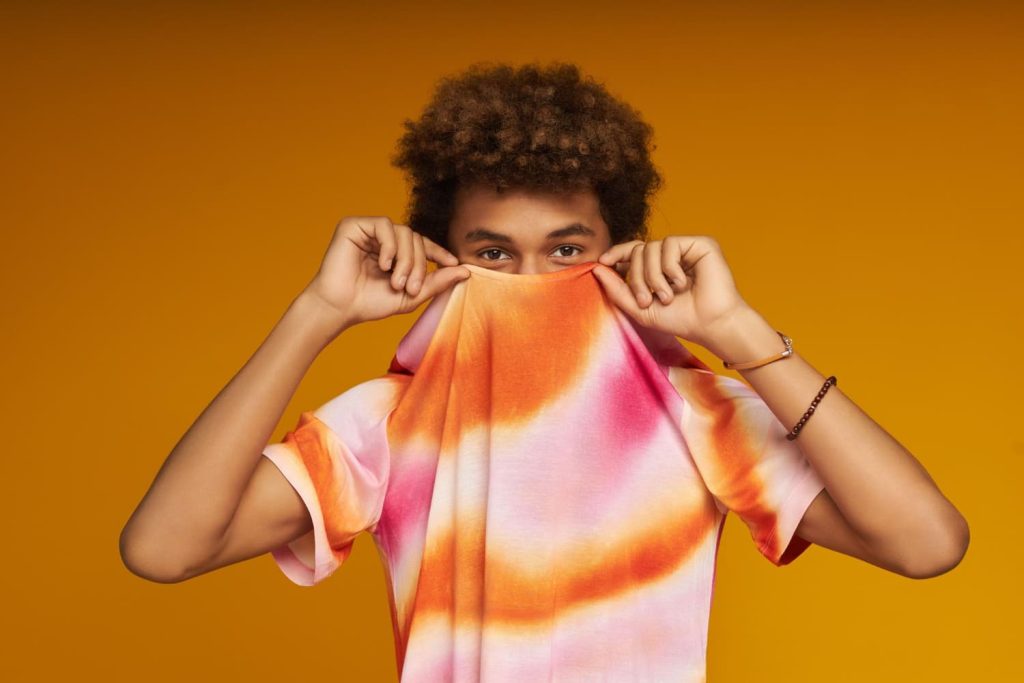
Tie-dye is a dyeing process that originated thousands of years ago and has a long and ancient history. It is based on the principle that by folding, binding, or sewing fabrics and then dipping or partially coloring them, the dye cannot penetrate the fabric evenly, thus creating unique patterns and textures. Each person handles the fabric differently, and the way the fabric is folded and the degree of dye penetration are different, so each piece of tie-dye work is unique. Tying-dye’s randomness and uniqueness make it a popular choice in the fashion industry and among DIY enthusiasts.
If you also love handmade creativity and personalized and unique outfits, then tie dye personalized t-shirts will surely suit you. This blog will provide a comprehensive tie dye guide on how to make your unique tie dye personalized t-shirts.
First of all, we would like to provide you with a detailed description of all the tools and materials that you will need to make tie dye personalized t-shirts:
In addition to this, you can also prepare the following materials to enhance the tie-dye experience:
Once you have the materials ready, you can start working on the t-shirt to be tie-dyed. Thoroughly wash the t-shirt with warm water and a mild detergent first to remove surface stains and the rest of the chemical residue. Wring out gently. It’s better to leave some moisture; do not wring out completely, as this will allow the dye to penetrate your tie dye personalized t-shirts more evenly. The key is to not wring out the t-shirt completely, keeping it slightly damp will allow the dye to work well on top of the t-shirt.
Trying to create a unique pattern depends largely on the different ways you work with the fabric. Common classic patterns include spirals, folds, and concentric circles. Below, you will find more details on creating these three classic patterns.
Pinch the center point with your thumb and forefinger and rotate the fabric clockwise or counterclockwise so that it forms a spiral. Secure the shape by tying the fabric tightly in sections from the center outwards with a rubber band or string. After coloring, untie the rubber band, and the spiral pattern is complete.
Now giving you detailed instructions on how to make tie dye personalized t-shirts.
Materials: reactive dyes or fiber reactive dyes, warm water, a larger container, a measuring cup, a stirring rod
Materials: Cotton, hemp, silk and other natural fibers for T-shirts, rubber bands, or rope
Materials: prepared dye, plastic gloves, plastic sheet or tarpaulin
Dyeing techniques:
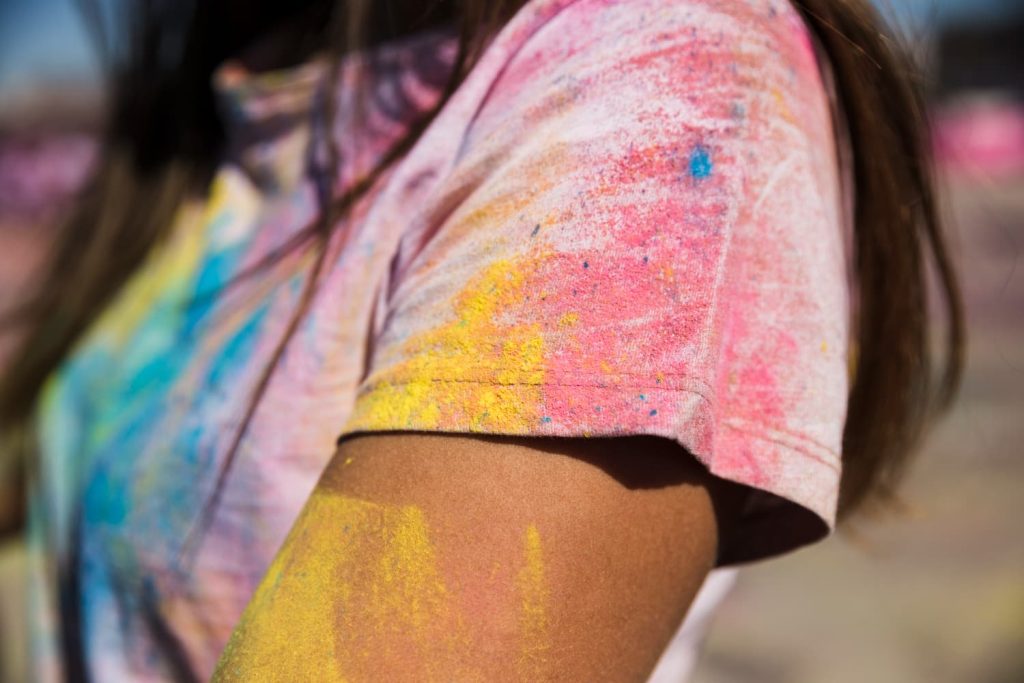
Pay attention to the degree of penetration when dyeing: Where it is tied tightly, the dye penetrates less and creates a white-out effect. Where it is tied loosely, the dye can penetrate deeper and the color will be more vibrant.
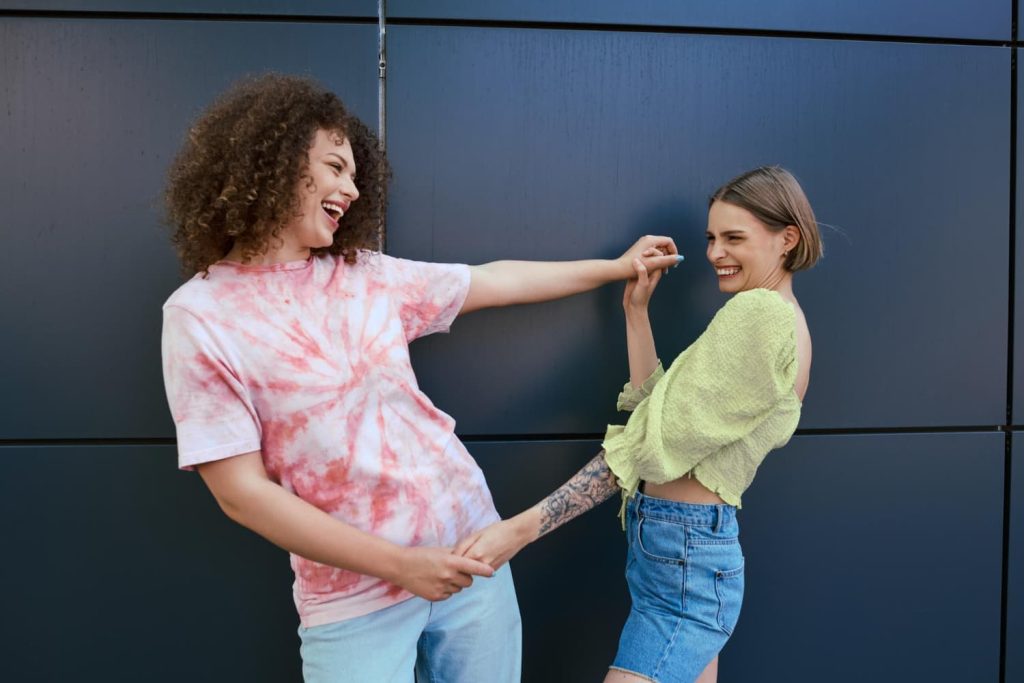
After completing the above steps, congratulations on getting your very own unique tie dye personalized t-shirts! It is recommended to wash the t-shirts separately; if you wash them with other clothes, you may stain the other clothes.

After mastering the basics of tie-dyeing, you can take your inspiration to the next level and create tie dye personalized t-shirts. In addition to the traditional dyeing process, you can also add unique text, patterns or brand logos to your tie dye personalized t-shirts by using screen printing, digital heat transfers printing or hand embroidery. or brand logos based on tie dye personalized t-shirts. Many production methods are available to incorporate your personal style or brand concept into tie dye personalized t-shirts.
It is recommended that you sketch where you want to add the elements, and then create the overall layout before making tie dye personalized t-shirts. You can also use eco-friendly dyes and sustainable materials to make fashionable and eco-friendly tie dye personalized t-shirts, which will show your elegant taste and unique design.
Thank you for reading this far. I believe you have been able to master the basic operation of tie dye. From material preparation, t-shirt pretreatment, design conception, and dyeing operation to final fixing and drying to create your own tie dye personalized t-shirts, DIY is not only a way of crafting; it is also a way to express yourself and release your creativity. Whether you are a tie dye beginner or an experienced DIY enthusiast, we hope this blog can inspire you to have fun making your tie dye personalized t-shirts.
 Hoodies Related
How to Choose the Right Blank Hoodies Manufacturer for Your Brand
READ MORE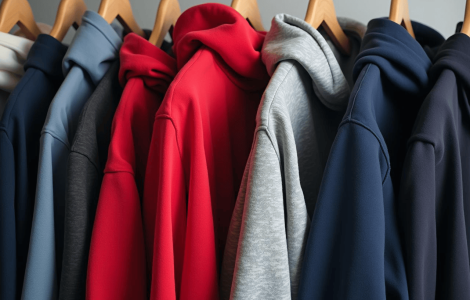 Hoodies Related
The Most Popular Different Types of Hoodies and Their Specialties
READ MORE T-shirts Related
The Charm of T-shirts Factory Custom Printing: A Good Helper for Brands
READ MORE T-shirts Related
The Secrets Behind T-Shirt Manufacturing: From Design to Finished Product
READ MORE Hoodies Related
How to Choose the Best Fleece Hoodie: A Complete Guide for Hoodie Fleece Fabric
READ MORE